If the floor of your house has tiles that are old enough and needs to be removed to install new ones, it is better that you call a pro for that who has adequate knowledge about the process to follow for old tile removal. Remember, removing tile is not at all an easy project. It needs a lot of precision so that you do not damage the floor and its substrate. It is also very labor-intensive.
However, if you still want to do it yourself to save you from the cost of paying a pro, then here are a few tips that you should follow.
First, make sure that you have enough gears and safety equipment to wear to protect yourself from injuries. Then you must make sure that you have all the necessary tools for tile removal handy. The list of tools and safety equipment required for tile removal includes:
- A hammer
- A floor scraper
- A paint scraper
- One screw gun
- A handheld chisel
- Roofing rake
- A flat shovel
- Dust mask
- High-quality riggers
- Safety glasses
- Leather gloves and
- Drop sheet.
Once you are ready with the tools and safety equipment, follow these next steps.

The process to follow
First, you should remove the trim or baseboard. This will help you to work around the room. However, take care that when you remove it because there is no hindrance in installing the new tiles on the floor. You should first remove the furniture or appliances from the room and also cover any vents to prevent the dust from entering into the ventilation system during tile removal. You can use a removable tape and plastic for it.
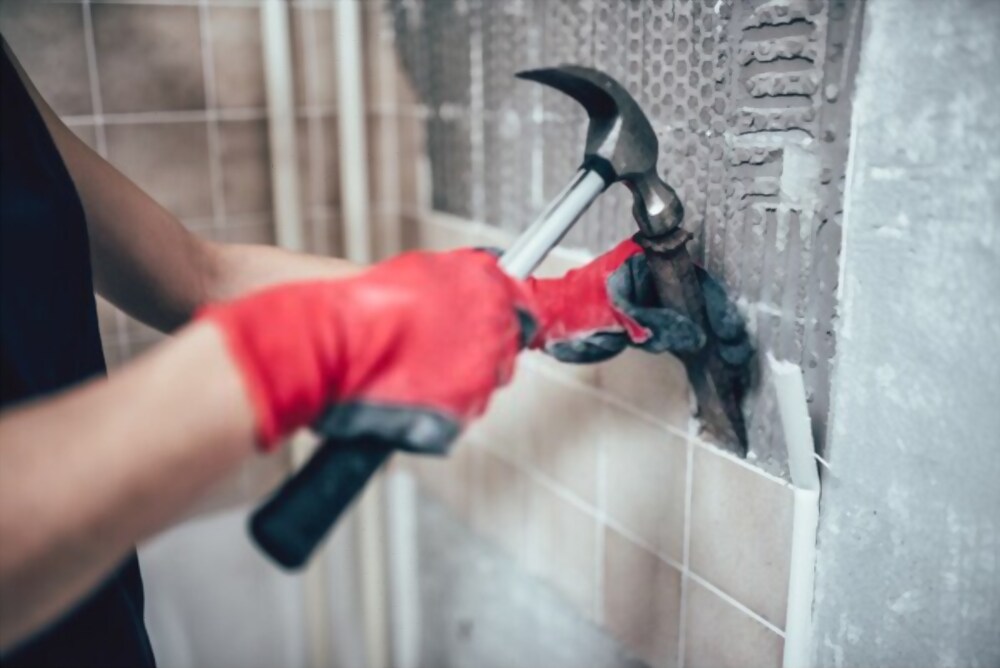
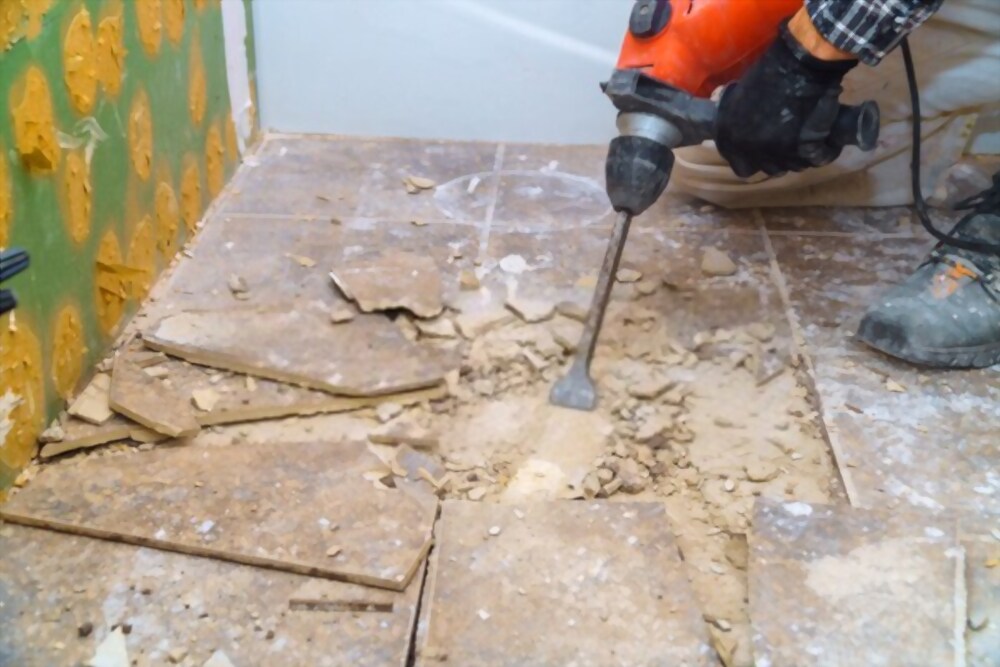
Start removing the tile next. Use the blunt edge of the hammer carefully to break the tiles. Use the chisel to pry them up. Work on each tile and continue this process once you remove the first tile completely. It will be easier to remove the rest of the tiles by simply applying pressure with the hammer to pop them up.
Next, you should remove the underlayment, if you find that it is deteriorating, once you are done with the tiles. Use the screw gun to remove the screws, if any, and use the roofing rake and flat shovel to pry the edges of the underlayment up.
The final step of tile removal is to remove and clean the adhesive from the subfloor using the flat edge of the shovel. You can even use a carpet scraper for larger areas and chisel and hammer for smaller areas. Then install the new tiles on the smooth and clean subfloor.

A few other tips
Make sure that before you start with the actual tile removal process you keep these things in mind.
- You must cover the things in the room with plastic sheets.
- You must also remove all the decorative items that are within the close vicinity.
- Also, take off the books from the shelves and
- Remove the dishes from the sink.
This will ensure that the dust does not accumulate on these needing a thorough cleaning later on.
There is one more important thing to keep in mind. You should always start your tile removal process from the edges of the room. This will make the process easier. You can use a sled hammer, or a hammer drill and even an angle grinder, depending on the accessibility. Removing the baseboards first will simplify the process even further.
Finally, make sure that you have enough time in your hand for the job and do not have any other commitments to follow after that. If there is any, cancel it. If you cannot, then call a professional for tile removal.


